Wix
Wix allows non-technical users to easily create fully-functional websites. CloudTables can be embedded directly into a Wix page to add a comprehensive table component, including its full read / write interface.
Embedding CloudTables
To embed a CloudTable into a Wix page, we will use the serverless client-side embed method. This involves placing a piece of Javascript on the page that will insert the CloudTable for you.
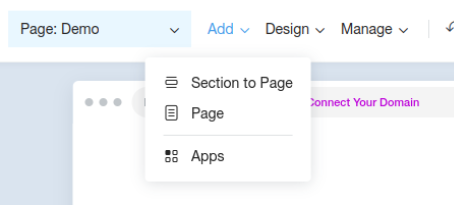
To get started, view the page on which you wish to embed the table, and click "Add", and then "Section to Page":
Click on "HTML Embed" and click on the template that best suits your style. This will embed the element into the page, and you can customise the embed by clicking on it:
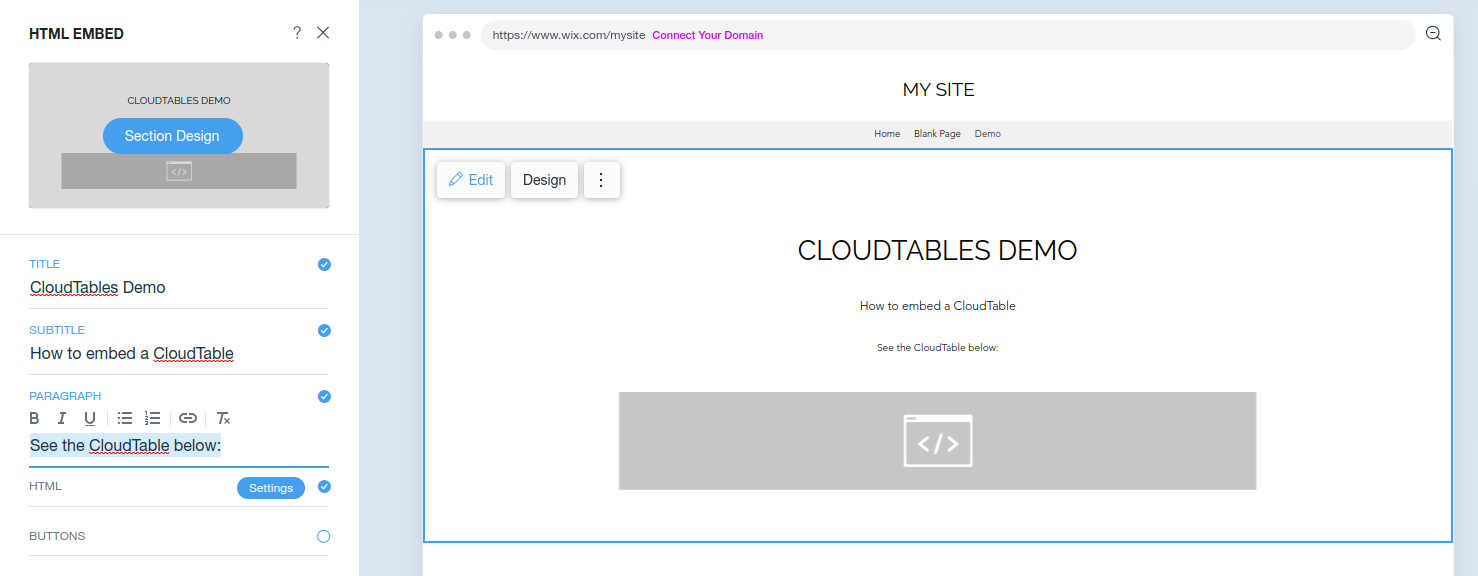
Once finished, click on the "Settings" button in the "HTML" line.
Script tag
Insert the following HTML into the input box with the heading "PASTE YOUR CODE (HTTPS ONLY)" - changing {datasetId}, {apiKey} and {clientId} to suit (see below):
<script
	src="https://sub-domain.cloudtables.io/loader/{datasetId}/table/d"
	data-apiKey="{apiKey}"
	data-clientId="{clientId}"
></script>
where:
{datasetId}- the ID of the data set you'd like to show (see the data set Embed tab for this information){apiKey}- the API key which will allow access (and thus assign the roles that can be used for access).{clientId}- a unique id for the client accessing the table on your system. This is optional, but useful for tracking requests in CloudTables' analytics. For example you might usewebas the id if you embed it in a public web-page, or an id specific to that page. Adata-clientNameparameter can also be specified, but that is more useful for the server-side API key interaction detailed above when you are using a user login system.
Final steps
Finally, adjust the height of the element so the full table can be seen, and click "Back" - you'll see the fully editable CloudTable on your page!
© 2022 CloudTables designed and created by SpryMedia Ltd.
SpryMedia Ltd is registered in Scotland, company no. SC456502.
Terms of Service | Privacy Policy.